
Drip Irrigation for Vegetable Gardens & Raised Beds
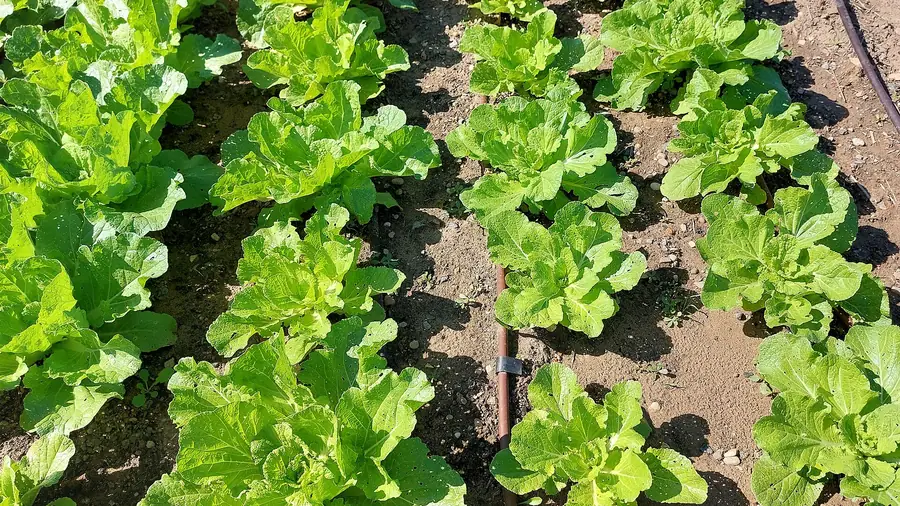
Table of Contents
Raised Bed Basics
Raised beds are the natural home of drip irrigation. A bed's soil is loose, well-drained and often organic-rich, which means water moves down fast and sideways slowly — exactly the profile that favors slow, localized application over overhead spraying. Drip delivers water at the surface and lets it soak straight down into the root zone instead of running off the bed edges or evaporating off foliage.
The sizing rule for beds: one emitter for every 20–30 cm of row, which for a standard 30 cm-wide bed with two rows means two drip lines or one line between the rows. Most bed systems run at 1.0–1.5 bar with 2–4 L/h emitters — enough pressure to push water through the line, gentle enough not to erode the loose bed soil.
Drip Line vs Tape for Beds
Both products work in raised beds; the choice is between longevity and cost:
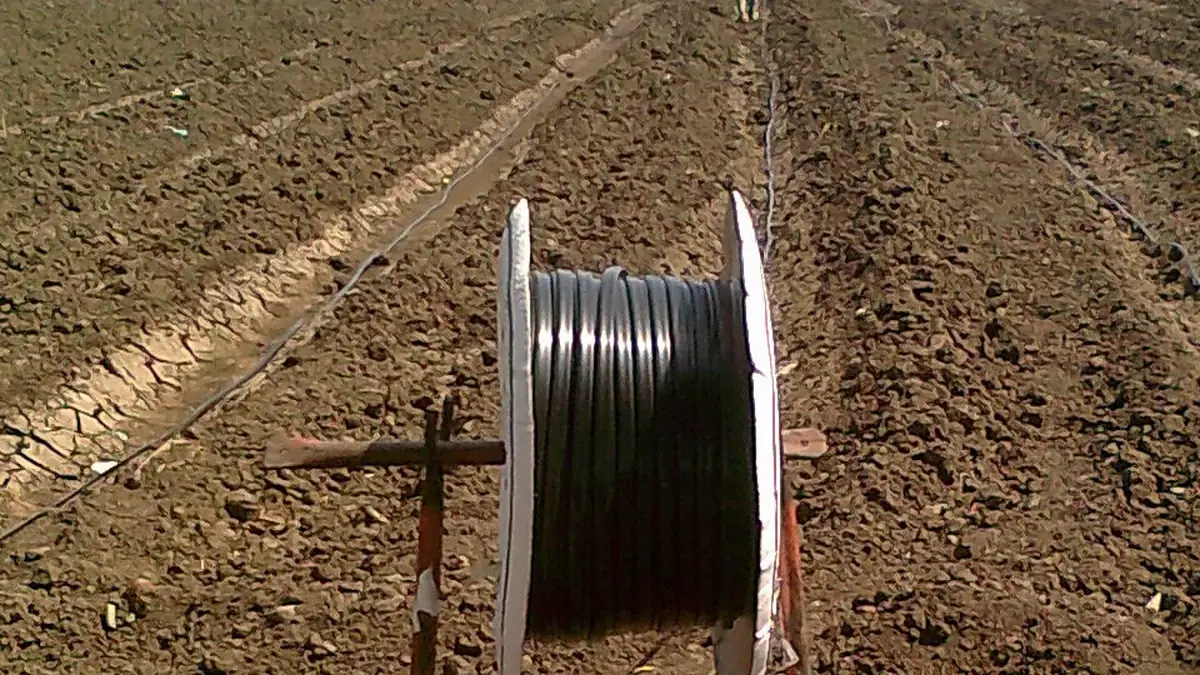
- Drip line (13–16 mm, 0.6–1.2 mm wall) — lasts 5–10 seasons, resists UV and rodents, can be left in place over winter in mild climates, and handles the frequent repositioning that happens when you rotate crops. The standard for permanent raised beds.
- Drip tape (16 mm, 0.15–0.4 mm wall) — cheaper per meter and fine for single-season beds, but it degrades in sun and is easy to puncture with a trowel. Best treated as a consumable.
For beds that stay in the same place year after year, drip line pays for itself by season two. Keep the full comparison in mind when you spec your order.
Layout for Mixed Beds
Vegetable beds rarely hold one crop, so the layout has to serve rows of different lengths and crops in the same bed:
- Run a 16 mm header along the top of the bed frame or buried at the bed edge, with a connector at each bed.
- Lay laterals along the crop rows, cutting at bed length and capping with end plugs — no need to run one continuous line through multiple beds.
- For beds with 2–4 rows, space laterals 25–35 cm apart. Wide beds (120 cm) typically take 3 laterals.
- Leave 10–15 cm of slack at the ends so you can pull a lateral aside when digging or replanting a section.
- Connect each bed with a valve or quick-connect so a bed you're resting can be shut off without affecting the rest.
If the bed has heavy plants like squash or trellised beans, add a third lateral or drop in online emitters where the big plants sit — a 4 L/h online dripper at the base of each squash plant beats relying on the row spacing.
Scheduling by Crop Type
Water needs differ wildly across vegetables. Group crops with similar needs on the same zone, or adjust run times per bed valve:
| Crop group | Water depth per week | Frequency | Example crops |
|---|---|---|---|
| Leafy greens | 2–3 cm | Every 1–2 days, shallow | Lettuce, spinach, arugula |
| Root crops | 2.5–3.5 cm | 2–3 times weekly | Carrots, beets, radish, onion |
| Fruiting vegetables | 4–6 cm | Daily in fruit stage | Tomato, pepper, eggplant, zucchini |
| Brassicas | 3–4 cm | 2–3 times weekly | Cabbage, broccoli, kale |
To convert depth to run time: a bed with 2 L/h emitters every 30 cm delivers about 6–7 L/h per meter of row. One hour of run time therefore puts roughly 1 cm of water on a 30 cm-wide bed strip. Measure your own line's output once and build the schedule from that number.
Mulch & Weed Control
Drip and mulch are a matched pair: drip keeps the soil at the right moisture, mulch keeps that moisture from escaping and blocks the light that germinates weeds.
- Organic mulch (straw, compost, wood chips) laid 5–8 cm thick over the drip lines cuts evaporation by a third or more and suppresses most annual weeds.
- Plastic mulch on beds — lay drip line first, then the film, with emitters under the plastic. Common for tomatoes and peppers; warms spring soil and stops all in-row weeds.
- Weeds between rows — because drip doesn't wet the path between beds, those paths stay dry and weeds there are far fewer than under sprinklers. That dry-path effect is a real labor saver nobody budgets for.
Winterizing & Storage
A bed system that survives the off-season saves a full re-install:
- Flush each lateral with the end cap off until water runs clear — this pushes out sediment that would freeze into plugs.
- Drain and disconnect the header from the supply; tilt or lift lines so water doesn't pool in low spots.
- Remove filters and regulators and store them indoors; freeze-damaged plastic cracks on the first pressure test.
- Coil drip line loosely or leave it in place if winters are mild — but keep it out of direct UV when stored, since UV is what kills tubing over time.
- Inspect fittings and order spares for anything cracked before spring, so the season starts with a working system.
For seed orders, add the spares to the same container as next season's drip line — filters, barbs and end caps are cheap to carry and expensive to wait for.
NEXT STEP
Ready to Upgrade Your Irrigation?
Send us your requirements — our team responds within 24 hours with pricing and lead time.
Written by
Ray ChanIrrigation Buyer's Guide Author · Drip Irrigation Specialist. Ray helps global importers and growers source reliable irrigation products.