
Drip Irrigation Installation Guide: Step by Step
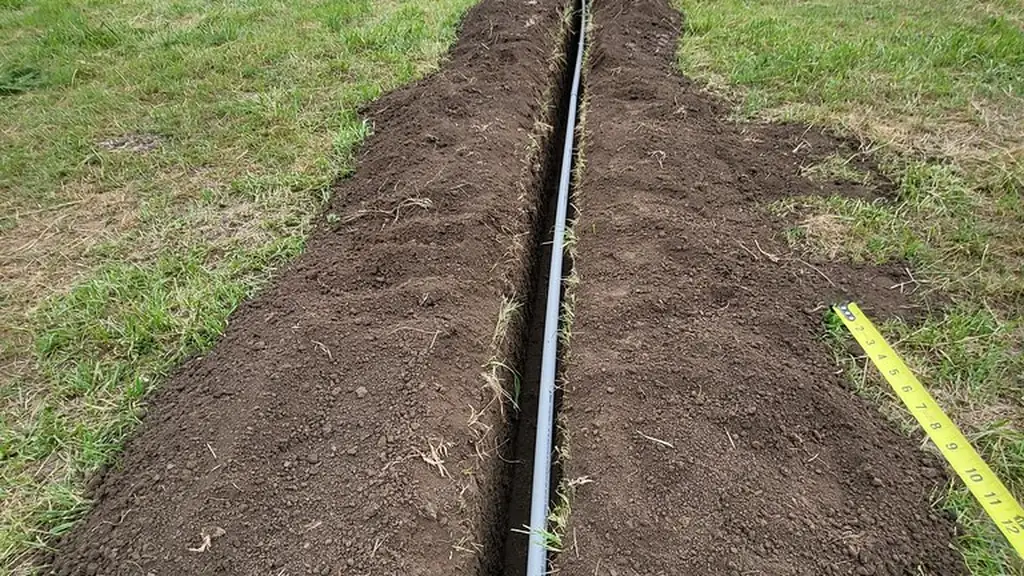
Table of Contents
Design Before You Dig
A drip system is a set of hydraulics, and hydraulics are designed on paper first. Walk the site and record four numbers before buying anything: source flow (L/h), source pressure (bar), total watered area (m²), and row / bed layout. From those you size the zones.
The rule that prevents 90% of failures: one zone should not exceed the flow your source delivers continuously. A garden tap at 2 bar delivers roughly 800–1,500 L/h; an orchard pump maybe 5,000 L/h. Divide the field into zones so each zone's total emitter flow fits the source, then schedule zones one after another.
Sketch the header route along the edge of the planted area, laterals along the rows, and mark where filter, regulator and valves sit. This drawing becomes your shopping list and your install plan.
Components You Need
Every drip system, from a 20 m² bed to a 2 ha field, uses the same parts in the same order from the source:
- Backflow preventer — stops irrigation water from siphoning back into the drinking supply. Non-negotiable on municipal water.
- Filter — 120-mesh screen or disc filter as the baseline; sand separators where the water carries grit. See our filter guide for sizing.
- Pressure regulator — steps source pressure down to the system's operating range (typically 0.8–1.5 bar for drip, up to 4 bar for micro sprinklers).
- Mainline / header — 16 mm or larger PE pipe that runs along the field edge.
- Lateral lines — 13–16 mm drip line or drip tape with emitters built in, or plain tubing with online emitters punched in.
- Fittings — tees, elbows, connectors, end caps, and a punch for installing emitters.
- Flush valve or open ends — every lateral must be flushable; sediment collects at the ends and must have somewhere to go.
Step-by-Step Layout
Work from the water source outward, and flush the header before connecting the laterals.
- Mount the valve station. Install backflow preventer, filter, regulator and zone valves in that order, close to the source, above ground and protected from sun. Use a manifold so each zone has its own valve.
- Lay the header. Run 16 mm pipe along the field edge. Where rows are long, put the header in the middle and feed laterals in both directions — this halves the lateral length and doubles uniformity.
- Punch and connect laterals. Use a proper punch (4 mm or 7 mm to match your barbs) and seat barbed connectors with a slight twist. A loose barb is a slow leak that shows up as a wet patch and a dead zone.
- Run laterals along rows. Anchor with stakes or pins every 1–2 m so lines don't drift in wind or during cultivation. Leave 10–20 cm slack at the ends for thermal expansion and end-cap removal.
- Cap the ends. Install end caps or fold-and-clamp ends on every lateral, leaving one lateral per zone open until the system is flushed.
Filtration & Pressure
Filtration and pressure are the two adjustments that decide whether the system still works in year three. Set them once, check them often:
- Mesh by emitter size. 120 mesh (about 130 microns) protects 1–2 L/h emitters and micro sprinkler nozzles. Drop to 80 mesh only for large 8 L/h emitters on clean well water. Disc filters clean faster than screen filters on organic water (algae, slime) because you can flush them in place.
- Pressure by product. Drip line and tape run at 0.8–1.5 bar; online emitters at 1.0–2.0 bar; micro sprinklers at 1.5–4.0 bar. One regulator per zone, set to the zone's product.
- Check with a gauge. Install a pressure gauge after the regulator. A gauge at the end of the longest lateral tells you if the zone is within range; if pressure drops more than 20% along the run, shorten laterals or step up the pipe diameter.
Flushing & Testing
Before the first real irrigation, run a commissioning pass:
- Open the zone valve with laterals uncapped and let the header blow out debris for 2–3 minutes.
- Cap the laterals, pressurize, and inspect every connection for leaks while the line is wet — leaks are easiest to find on the first run.
- Open the end caps of each lateral and flush until the water runs clear. Repeat this flush monthly; emitters clog because the ends of laterals become sediment traps.
- Measure emitter flow at the start, middle and end of the longest lateral. If the middle and end flow differ by more than 20%, the zone is oversized — split it or shorten the runs.
Common Mistakes
Every failed drip install we see repeats one of these six:
- Skipping the filter — or undersizing it. The filter is the cheapest component and the one that protects everything downstream.
- No pressure regulator — a 4 bar mains supply blows fittings and turns emitters into misters.
- Laterals too long — 16 mm drip line holds acceptable uniformity to about 100–200 m depending on emitter flow and spacing; longer runs starve the far end.
- Mixing emitter flows on one zone — 2 L/h and 8 L/h emitters on the same line unbalance the hydraulics; keep flows consistent per zone.
- Buried lines with no flush access — you will need to flush; plan for it.
- No zone isolation — one valve for the whole field means you can't schedule crops separately and every repair shuts down everything.
A drip system that is designed, filtered and flushed correctly runs for years with almost no attention. Install it in the order above and the commissioning pass will catch the mistakes before they cost a season.
NEXT STEP
Ready to Upgrade Your Irrigation?
Send us your requirements — our team responds within 24 hours with pricing and lead time.
Written by
Ray ChanIrrigation Buyer's Guide Author · Drip Irrigation Specialist. Ray helps global importers and growers source reliable irrigation products.